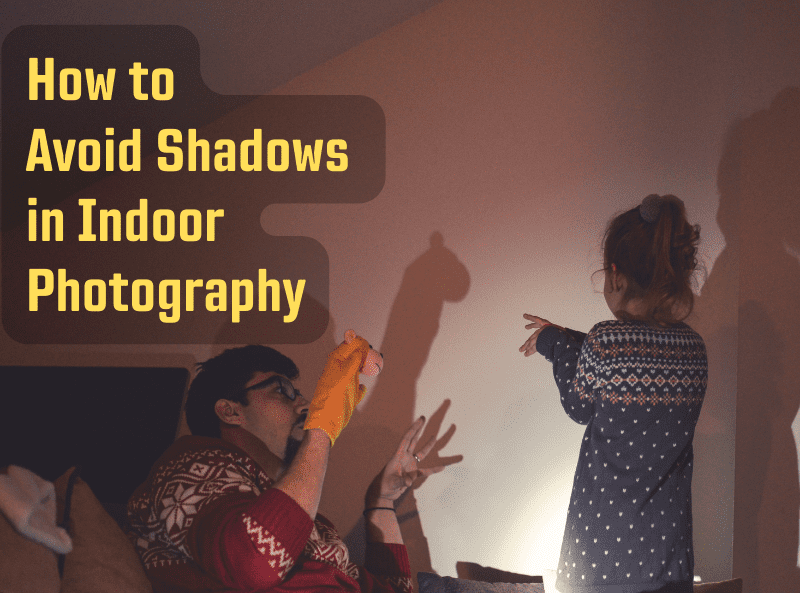
An ugly photo is one in which the subject is darkly shadowed. Regardless of your level of skill in photography, whether you have a budget or not, you can remove shadows from photographs with proven techniques. Photography indoors is a challenging skill. The blending of natural and artificial lighting and reflected and refracted light from windows makes for unattractive pictures. However, shadows are an absolute nightmare. This article provides tips for avoiding shadows when taking indoor photos.
The solution to the problem of direct, on-camera flash when taking indoor photos is to recognize that it is a problem all too often. It would be better not to use one at all.
In this article, you will find some tips for avoiding shadows in indoor photography.
Table of Contents
Make Sure Your Camera Is in Manual Mode
Ensure you are in the shutter priority mode on your camera, S on a Nikon, or Tv on a Canon. 1/60 or 1/200 shutter speeds are ideal for taking sharp photos without motion blur as they prevent interference from artificial lighting. Sharp pictures are a result.
Faster shutter speeds capture interference caused by artificial lighting, such as fluorescent lights and lampshades. The flickering of these lights flies out of bulbs so fast that naked eyes cannot see it.
The flickering of blue and orange lines gets captured when using a fast shutter speed. When using manual mode, it’s possible to adjust focus (Depth-of-field, or DOF).
I recommend reducing the depth of field when doing indoor photography to lower background noise. There are many manual settings that you can use to capture sharp images regardless of the lighting.
Use Aperture Priority Mode
When using aperture priority mode, the aperture and shutter speed are selected by your camera automatically. As a result, you have controlled exposure without switching to manual mode.
The aperture priority setting often is listed as A or AV. The aperture should be wide open to let as much light in as possible when shooting pictures indoors. Low f-numbers like f/2.8 and f/1.8 are good choices if you want a nice, bright exposure.
You’ll have shallow DOF if you shoot with a large aperture. The subject will remain focused, but the background will be soft and blurred. It’s a great way to enhance portrait, landscape, and product photography.
If you are taking a portrait, you will need an aperture of about f/5.6 to focus the whole face (this will vary based on the length of the lens and how close you are to your subject). You will get the best results if you focus on the subject’s eyes.
Take RAW photos as well. When editing a RAW file, you will have more options – this is great for enhancing indoor images.
Raise the ISO
Increasing the ISO might be a good idea when shooting indoors without flash. Over ISO 400, ISO 800 means the lens is two times as light-sensitive. The higher the ISO, the greater the likelihood of noise, blurred colors, or pixels that appear overexposed, underexposed, or off-color.
An image is marred by noise when it is pronounced. Some of the noise generated by digital cameras results from problems with the sensor itself, with different models varying their ability to reduce noise.
Select White Balance Ahead of Time
The white balance of some photographs may be adjusted later in post-processing (if the camera’s white balance setting is auto). After taking a photo, you can adjust the white balance. However, it’s easiest to change it before taking the picture (plus, it’s faster to adjust the white balance afterward).
You should, therefore, turn off the automatic white balance on your camera. Instead, choose a setting based on how the lights are.
A warmer look would be better, so “cloudy” would be a good choice. You may also get good results with another white balance preset. The best way to learn about white balance is to try using several different settings; you’ll be able to figure out which settings you want to avoid and which ones to use.
Fixing No Catchlights in Your Subject’s Eyes
A portrait of a subject with blackened, sunken eyes rather than sparkling ones will be unflattering. In other words, they appear to have no catch lights in their eyes; their faces are missing illumination.
Getting the light to fall on the subject’s eyes can be difficult when photographing indoors. Add light with reflectors and artificial lighting.
Alternately, ask your subject to face the source of light. It is an effective way to emphasize their eyes.
Avoid Shadowed Walls
The shadow on the wall cast by the subject often diminishes the quality of portraits taken indoors. It is distracting to see these shadows because they take the viewer’s attention away from the person.
Such shadows occur when objects are too close to walls with angled lighting. To get rid of shadows like these, you need to move things away from the wall. Also, using a light reflector will help illuminate the background.
Final Verdict
It is pretty challenging to take photographs in an indoor environment when various light sources are involved. Many people wonder how to reduce shadows when photographing people indoors. You need to know what your camera can do to adjust for the various light sources to prevent shadows from ruining the shot. By following these tips, you will be able to prevent shadows from ruining your indoor photos.
